Master rice cooking for yakimeshi.
Subscribe for free today! Receive cool recipes, my latest Japanese knife picks and learn about Japanese culture. Delivered every other week to your inbox.
Master rice cooking for yakimeshi.
Subscribe for free today! Receive cool recipes, my latest Japanese knife picks and learn about Japanese culture. Delivered every other week to your inbox.

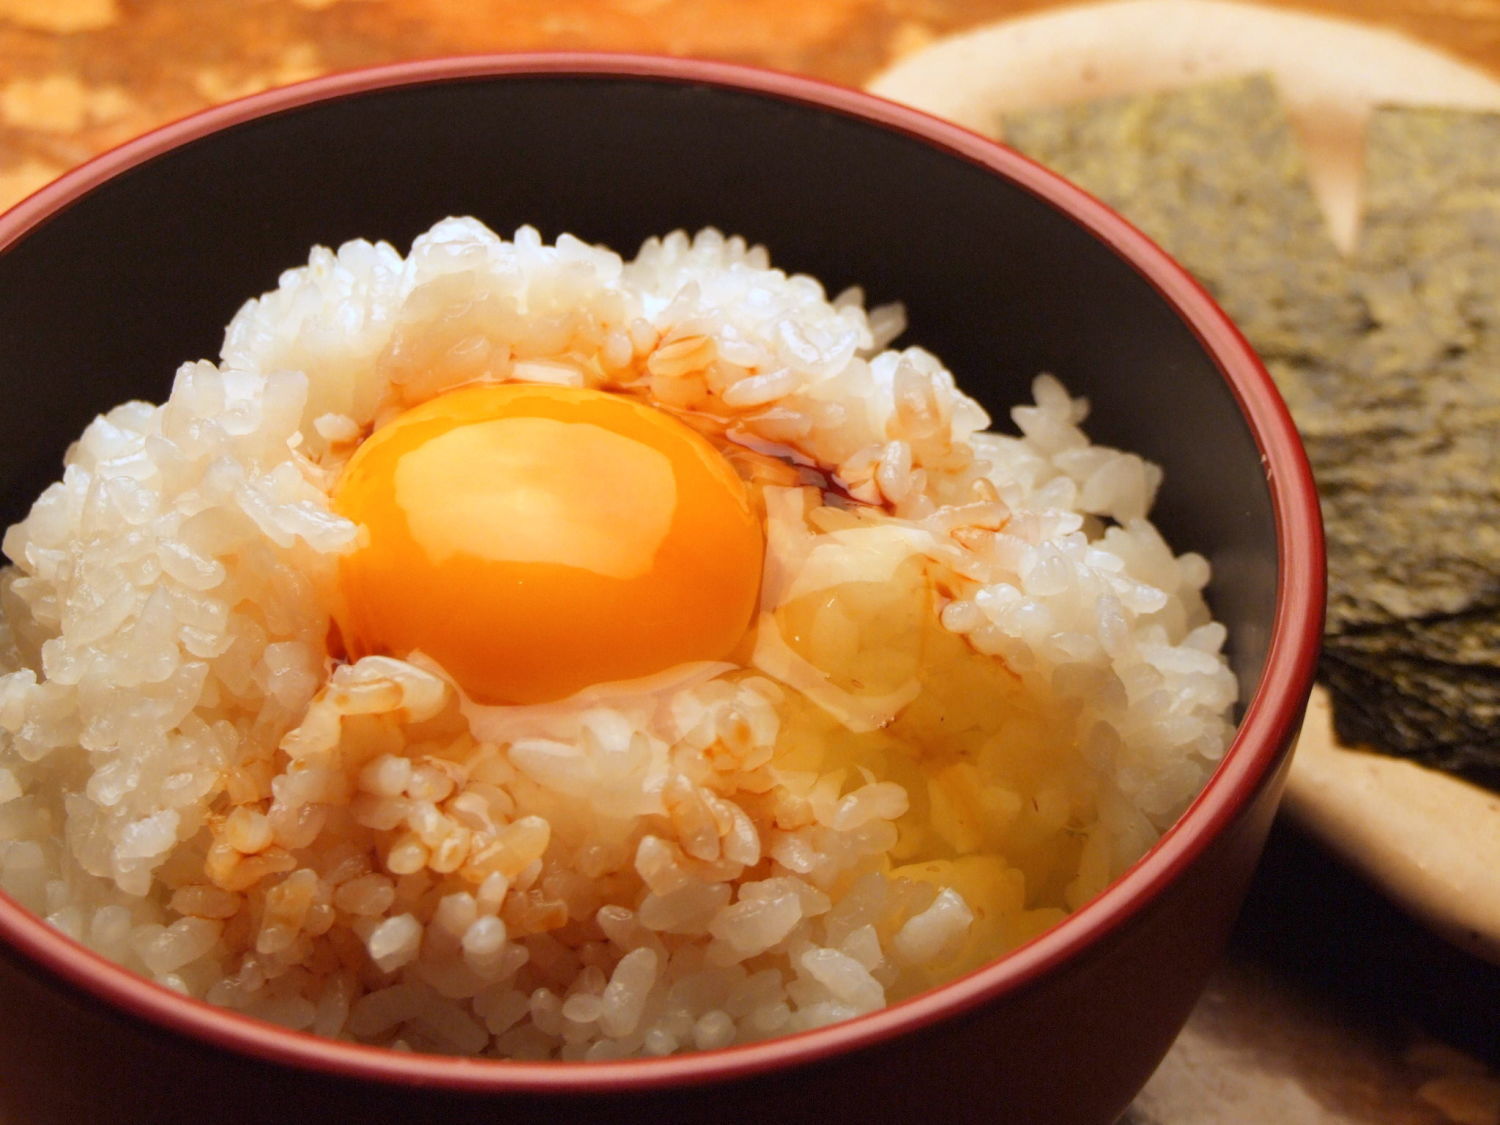
Tamago Kake Gohan (卵かけご飯) is a very simple, and common rice dish that is eaten all across Japan.
Thanks for sharing. I read many of your blog posts, cool, your blog is very good.